Last update at : 27/03/25 à 14:43
To ensure that the recording creates an audio track for each microphone and not just a single file, you can follow this explanatory video:
Step by Step:
1: Turn on the console using the button farthest to the right on the back panel.
2: Still on the back panel, insert your MicroSD card. When inserting, it may not be completely flush with the console; it’s normal for it to stick out a little. To avoid data write errors, we strongly recommend using cards with good write speeds, at least A1 or A3, V30, or UHS-I U3 with a minimum capacity of 16GB. The console may prompt you to format it, so make sure that any data on it can be deleted without issue.

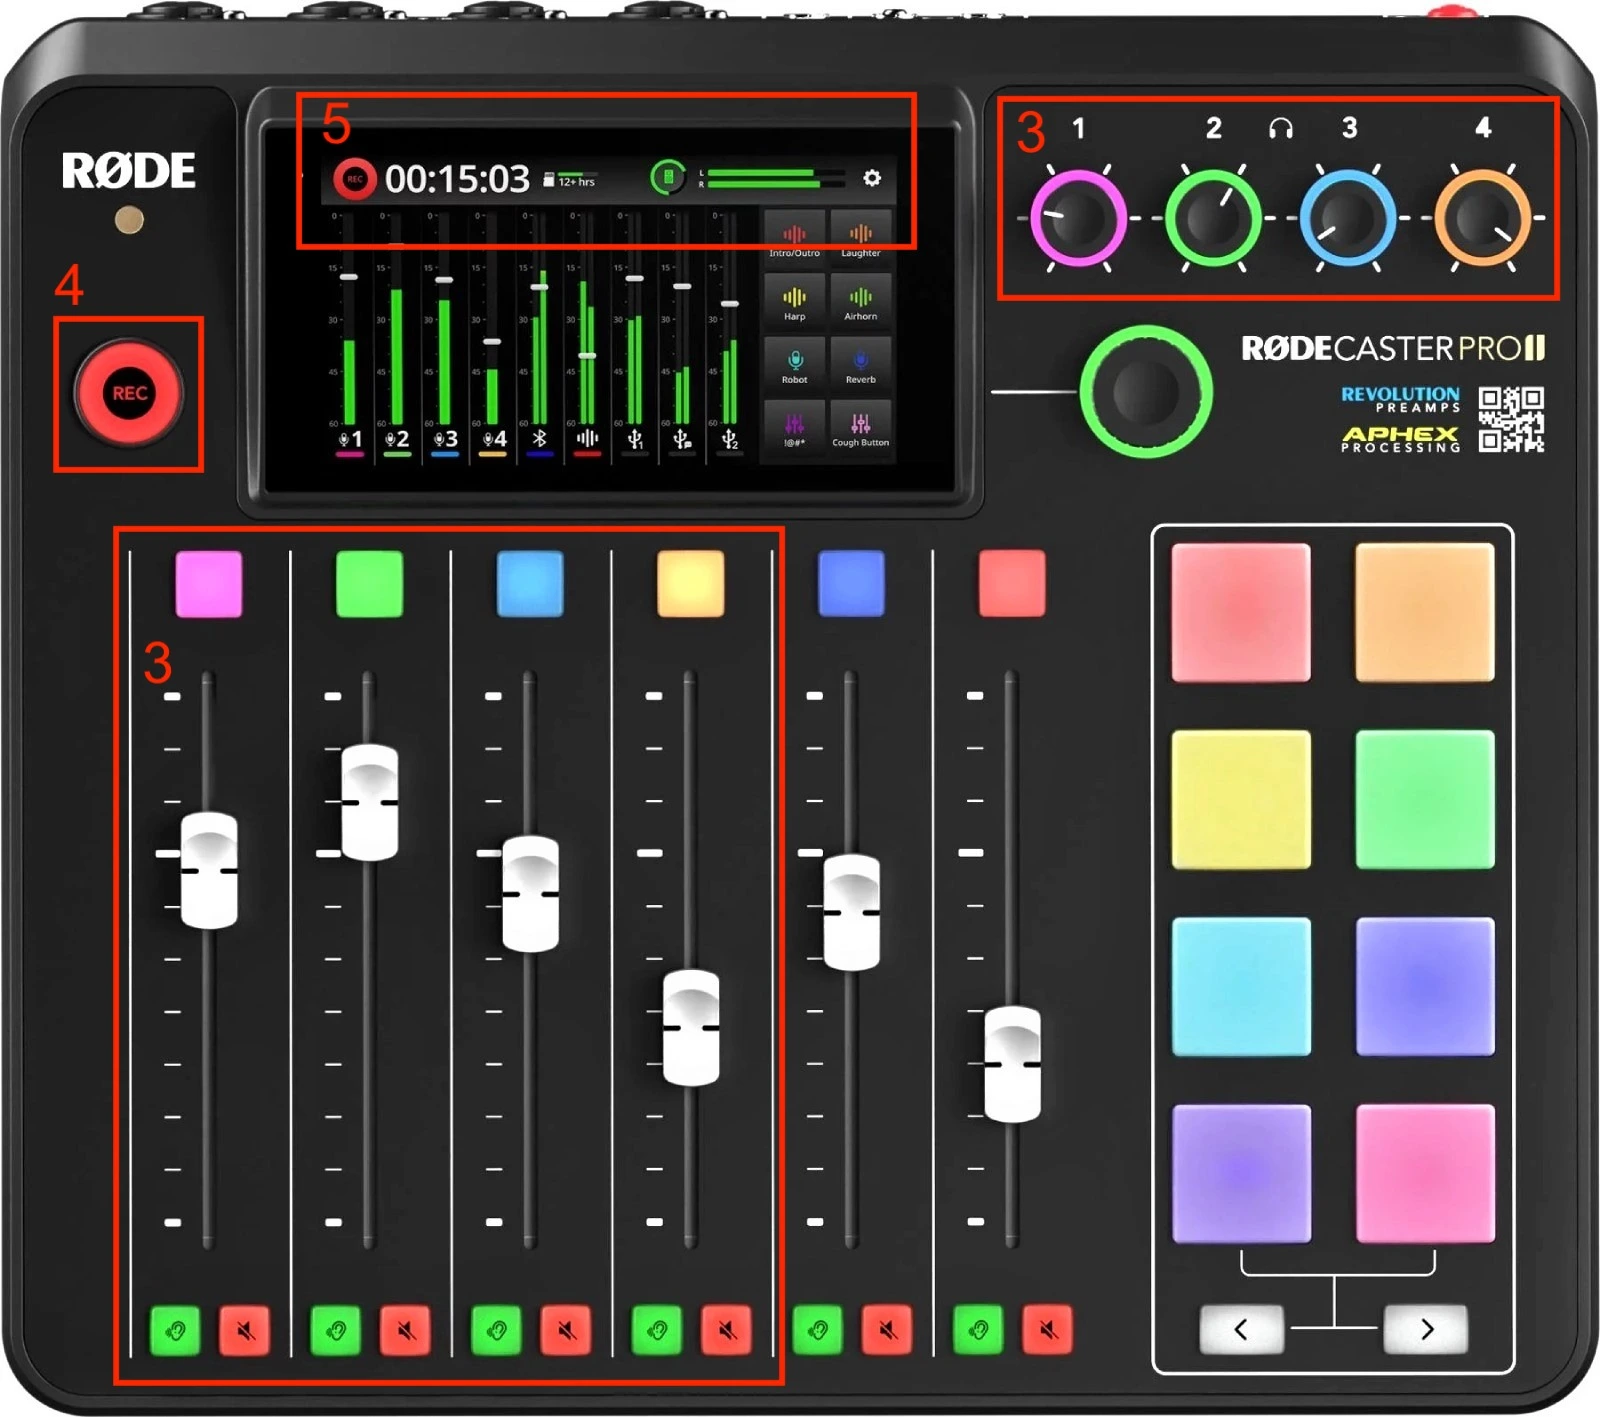
3: Check that the headphone volume is set to about one-third, and ensure the microphone gain is around 50-55 dB by clicking the square button at the top of the corresponding microphone channel.
4: Raise the volume of the microphone tracks you are using, from 1 to 4, until you can hear yourself in the headphones. The recording will reflect what you hear while you and your guests speak.
5: Press the green ⚫️ REC button to start recording. It will turn red when recording has started. Press the same button again to stop recording.
6: Once the recording is finished, it is saved to your MicroSD card. You can listen to it directly on the console using the touchscreen via the card icon at the top right, or retrieve the file on your computer by removing the MicroSD card from the machine.
